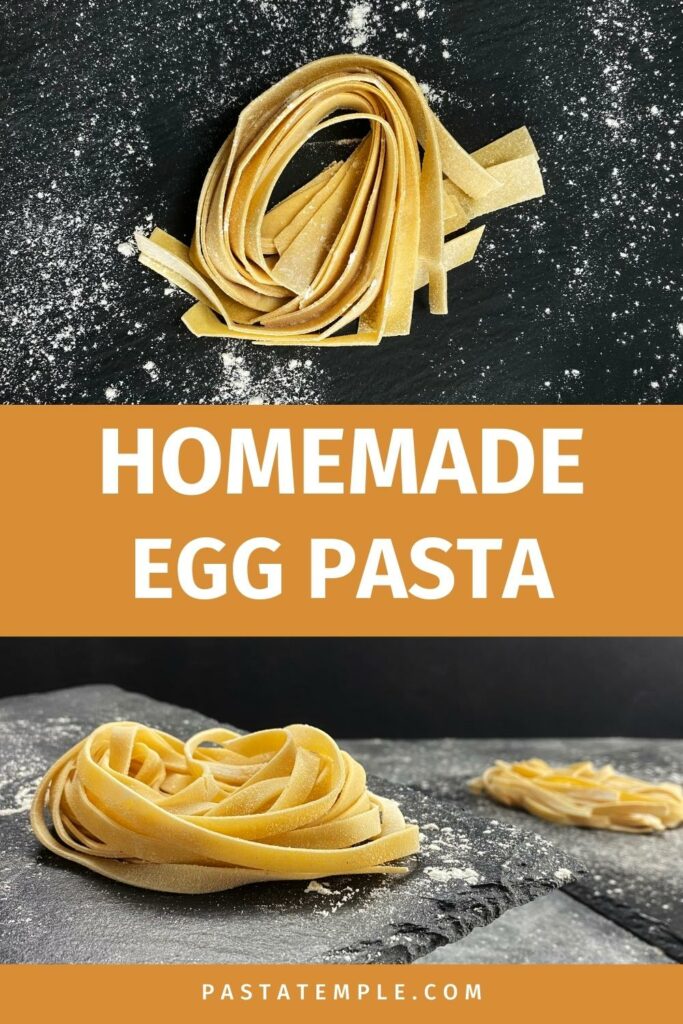
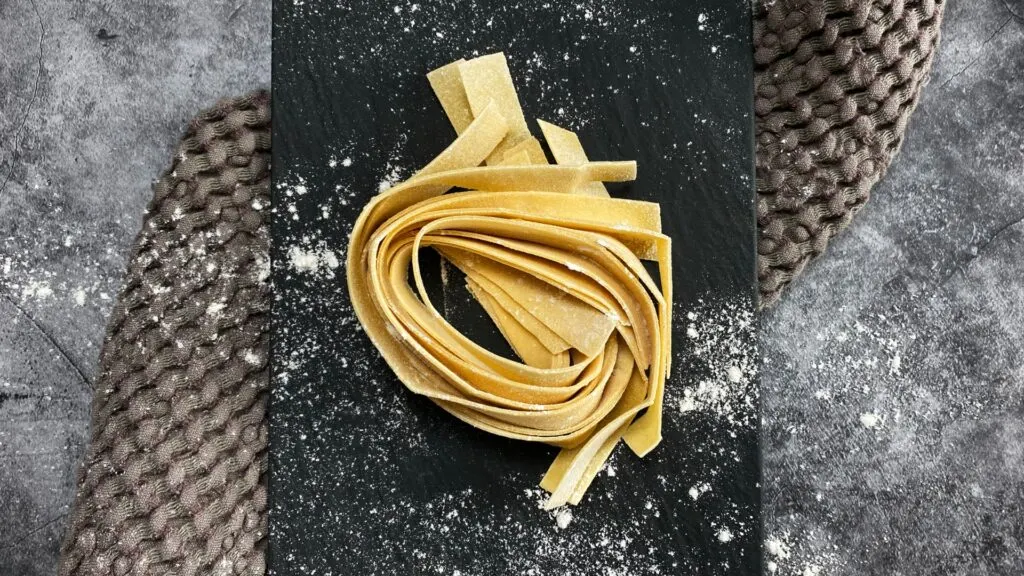
This article will show you how to make simple homemade egg pasta step by step.
This basic recipe is perfect for tagliatelle and pappardelle, but you can also use it for other types of pasta, such as garganelli, sachetti, and sopresine.
First, I’ll show you how to make tagliatelle with egg dough and which traditional recipes go perfectly with it.
Then you’ll find instructions for more advanced pasta varieties and tips on cooking, storing, and drying pasta with egg.
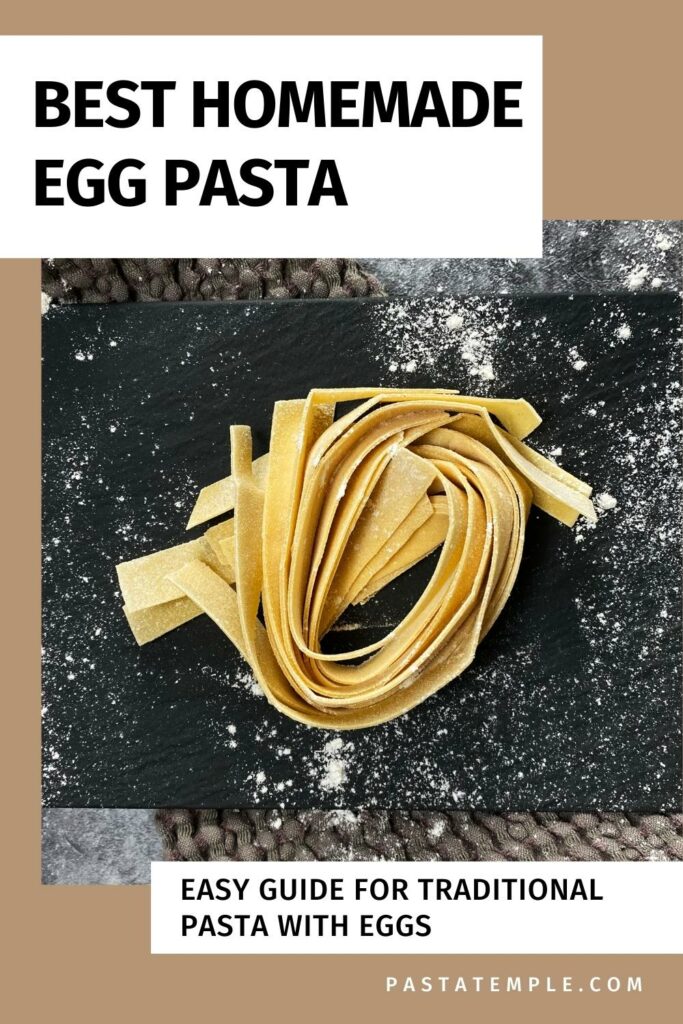
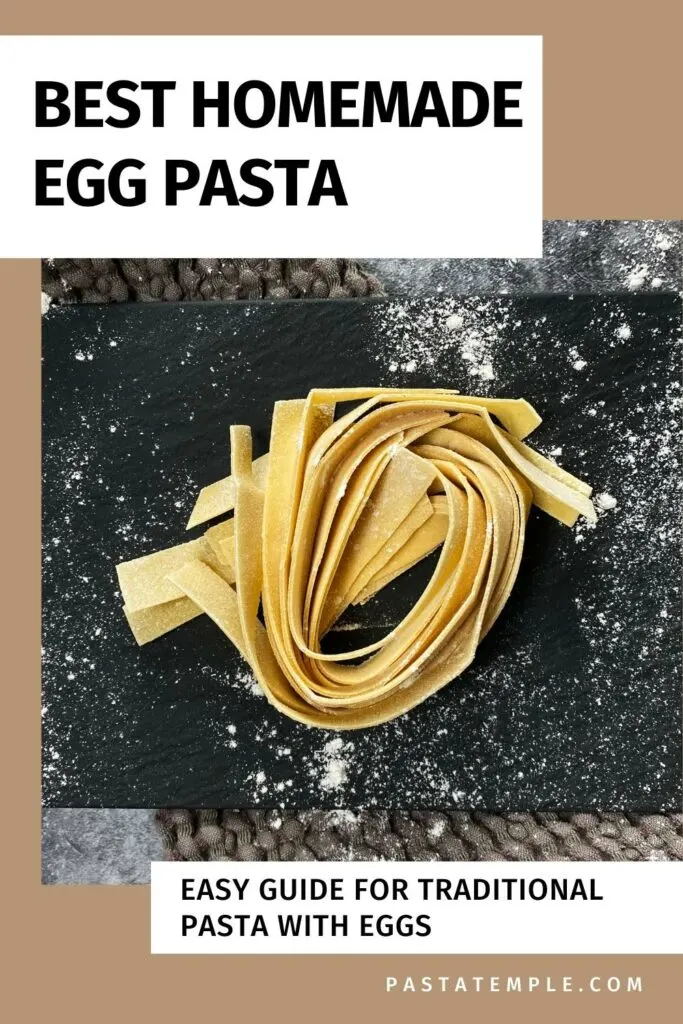
⬇ Pin it for later!
How to Make Egg Pasta at Home (By Hand)
The egg dough is at least as prevalent in Italy as the classic pasta dough with durum wheat.
It is particularly at home in northern Italy and can also be used for filled pasta such as ravioli and tortellini due to its excellent elasticity.
Pasta Dough with Chickpeas:
4 Servings
- 14.1 ounces (400 g) of chickpea flour
- 4 eggs (7 ounces or 200 g without shells)
(Find my exact product recommendations in the recipe card)
Usually, Tipo 00 Italian flour is used for this recipe, but it is not available everywhere. As a substitute, you can easily use commercial wheat flour type 405, whose properties are comparable.
In addition to this basic recipe, there are several variations that you can use to achieve more bite or even better elasticity, for example. You can find the different recipes in the following article:
Step 1: Form a flour well and whisk the eggs to form a dense mass.
First, I empty the flour on the work surface and form a hollow about 15 centimeters wide with a 1-centimeter thick bottom.
Then I sprinkle the salt and the eggs into it.
With a fork, I break the yolks and whisk the egg mixture. Then I gradually incorporate the flour from the outer wall and flour bottom without creating an opening.

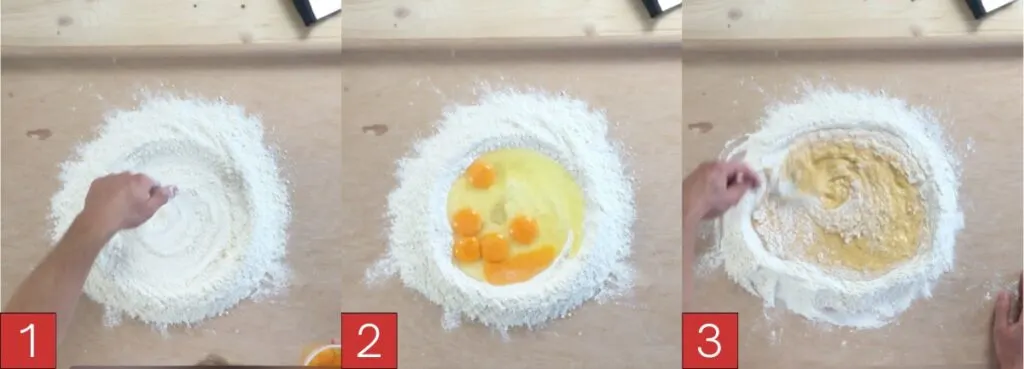
Step 2: Scrape the flour onto the egg mixture from each side, creating a crumbly dough.
Once a “mushy” mixture has formed, I run the dough scraper under the flour base from each side and fold it over the well.
I then pass the mixture through several times, creating a crumbly dough.

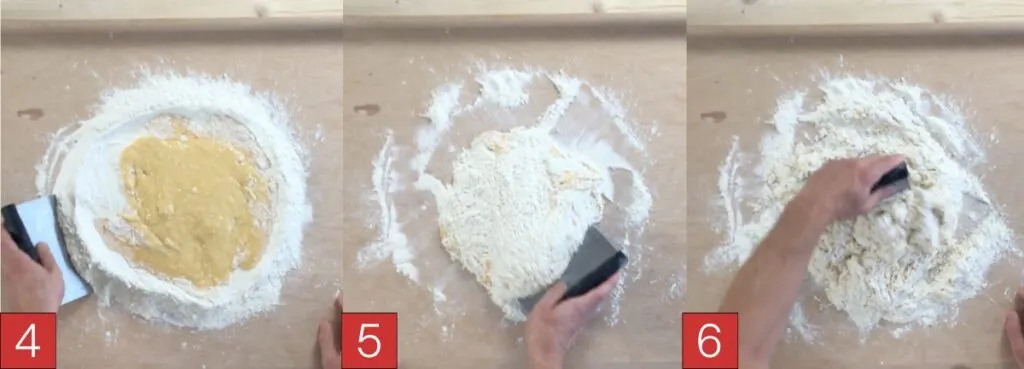
Step 3: Press the crumbs together to form a lump of dough.
Next, I scrape any flour residue from my dough scraper and continue with my hands. To do this, I press the dough crumbs together into a lump.
If the mixture doesn’t want to form a lump, you can add a little water generously (picture 2).
You will work the remaining crumbs into the dough in the next step.
If you need help with this step, you can find tips against crumbly pasta dough here.

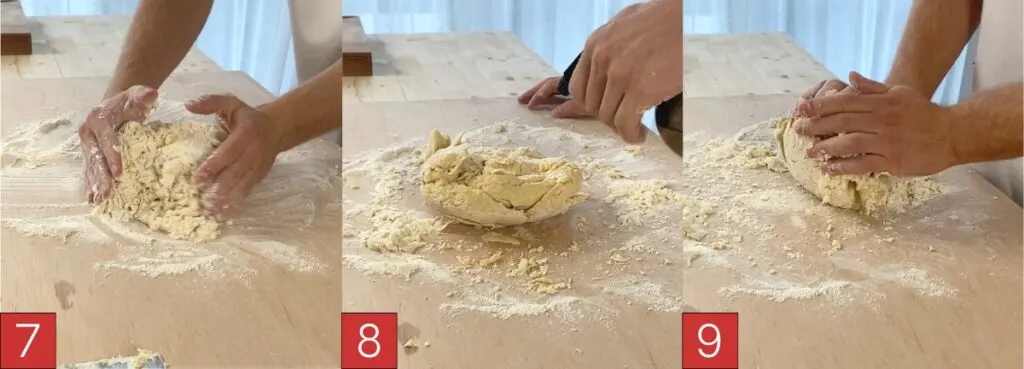
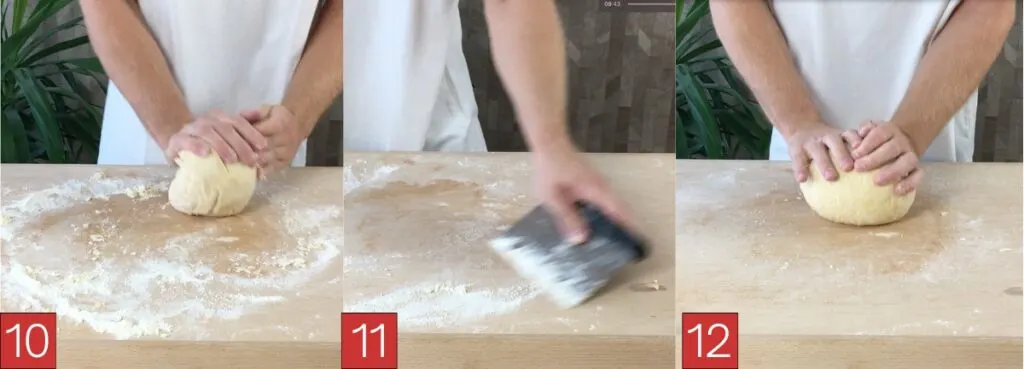
Step 4: Knead the dough into a ball for about 8 minutes.
There are several kneading techniques, one of which I find particularly compelling:
Apply forward pressure to the dough with the heel of your hand. Pull the dough back with the other hand, gently rotating it about 45°. Repeat the process until all the dough crumbs are incorporated.
Knead the dough for at least 8 minutes or until the surface feels silky and no longer sticks.
If the dough still sticks to your hands, you will need to sprinkle flour on the work surface and work it in.

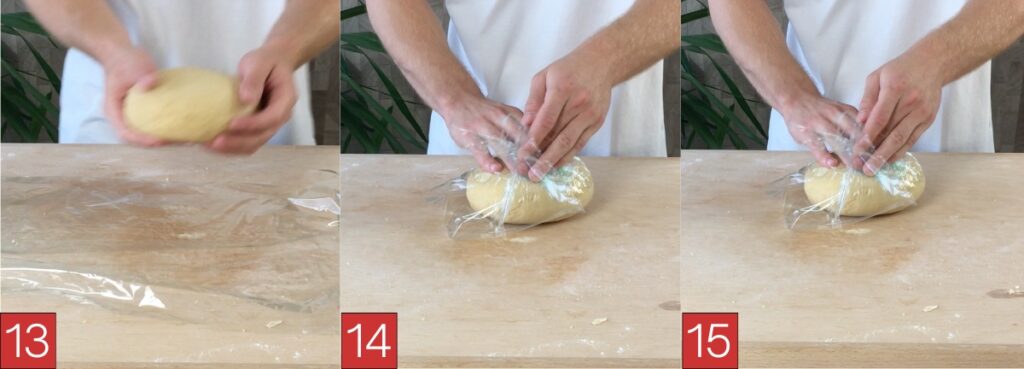
Step 5: Wrap the pasta dough in plastic wrap and let it rest for 30 minutes.
Once the pasta dough has the right consistency, you can wrap it in cling film and rest it for 30 minutes.
The resting time is essential because it rearranges the protein chains responsible for the dough’s stretchiness. That allows the dough to be rolled out thinly without returning to its original shape.

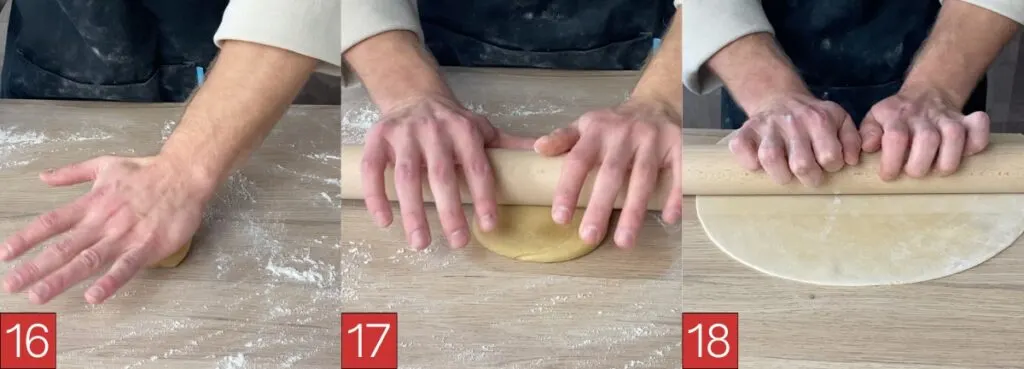
Step 6: Roll out the pasta dough to about 1 millimeter.
When I use 400 to 600 grams of flour, I cut the dough in half so it’s easier to work with.
I then press the dough half flat with the heel of my hand and roll it out with a rolling pin until it is paper-thin.
The dough sheet should be at most 1 millimeter thick for ribbon pasta. A good indicator that you reached the required thickness is when the work surface becomes visible through the dough.
Here is how to roll out the dough with a rolling pin:
Place the rolling pin in the center of the dough disk and stretch it forward in a short, wave-like motion.
Then rotate the disk about 45 degrees and repeat the process. If the dough sticks, sprinkle it with a bit of flour.
Tip: as soon as the dough disk is somewhat larger, pull it towards you across the work surface so that a third protrudes. It makes it easier on your back because you don’t have to lean so far forward. On top of that, the dough stretches more easily due to gravity.

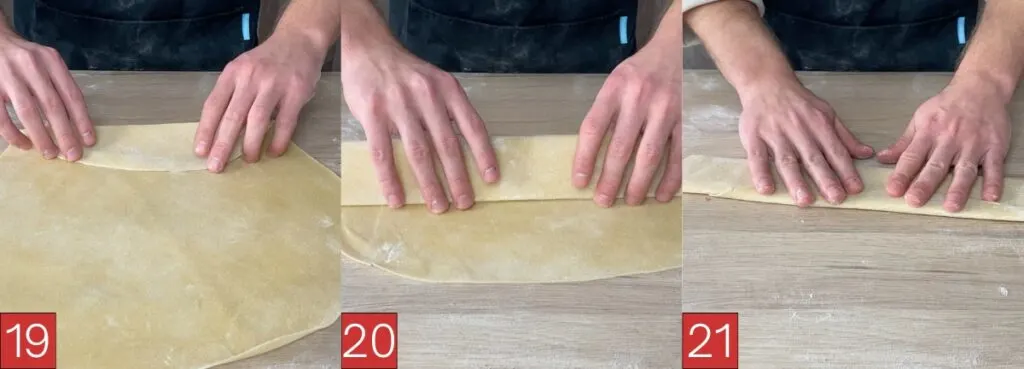
Step 7: Fold the dough disc in on itself three to five times.
You completed a significant part of the work. Now you only have to shape the noodles.
To make ribbon noodles, fold the dough into itself several times. It makes it easy to get evenly shaped noodles.
Tip: I let the dough dry on both sides for about 5 minutes before folding it. This way, I ensure that the noodles can be formed into nests afterward without sticking together.
If the dough sheet is still sticky, sprinkle it with flour. Otherwise, the noodles will weld together when you cut them, and you’ll have to separate them individually by hand.

Step 8: Cut the dough at regular intervals to obtain ribbon pasta.
I use a sharp knife to divide the pasta at regular intervals (about 1 centimeter for tagliatelle).
Lastly, a little trick: turn the dough sheet so that one end is facing up before cutting the pasta. It will make it easier to form pasta nests because you can grab the tagliatelle all at once (see Figure 24).


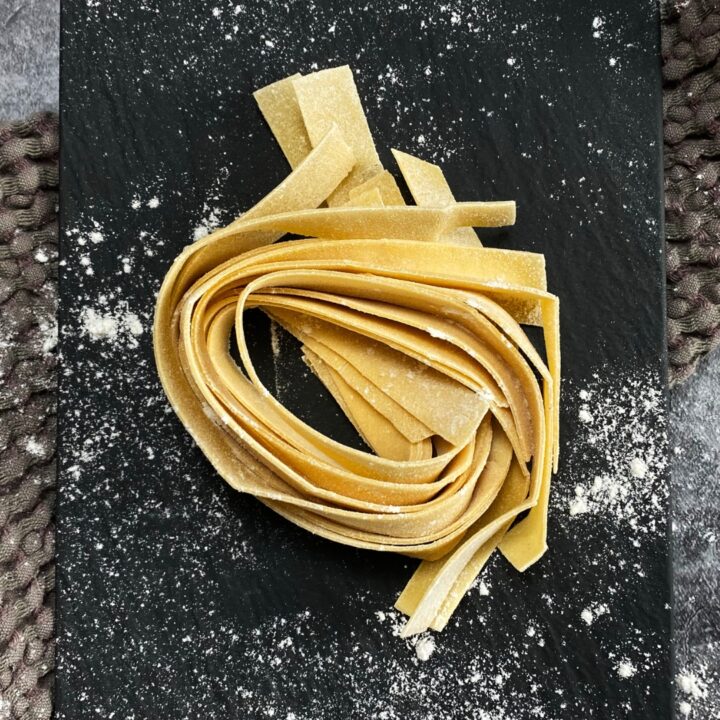
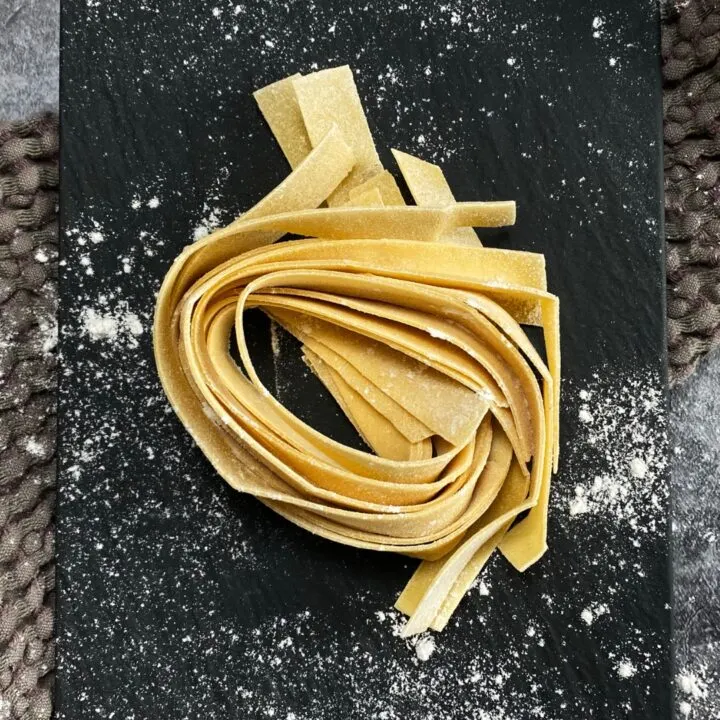
Step 9: Grab the ends of each noodle and shape them into nests.
Whether you want to dry the noodles, freeze them, or use them right away: Forming pasta nests is the best way to store them to save space temporarily.
Hold the ends of the pasta in one hand and wrap the pasta once around with the other hand, as shown in the pictures.
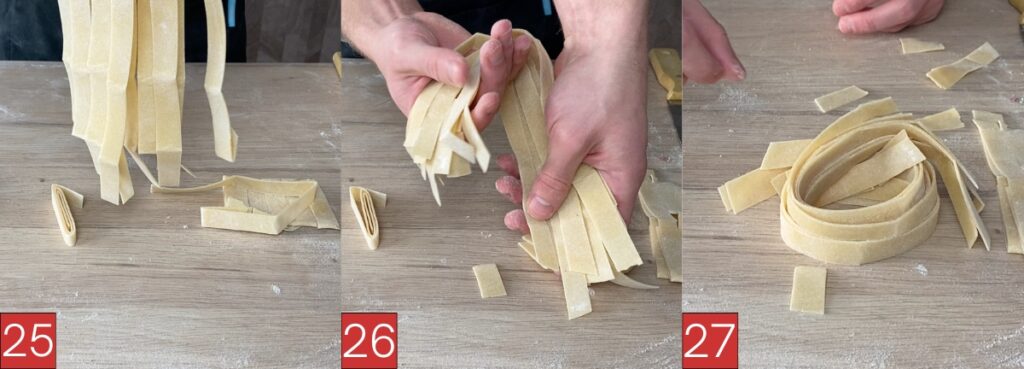
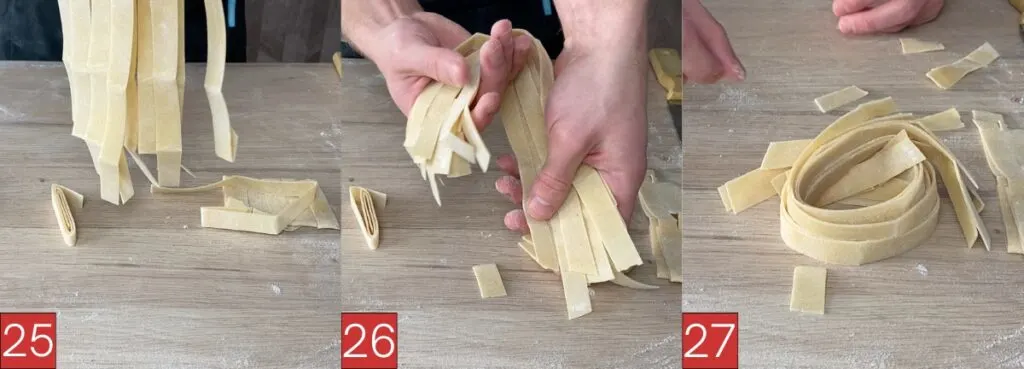
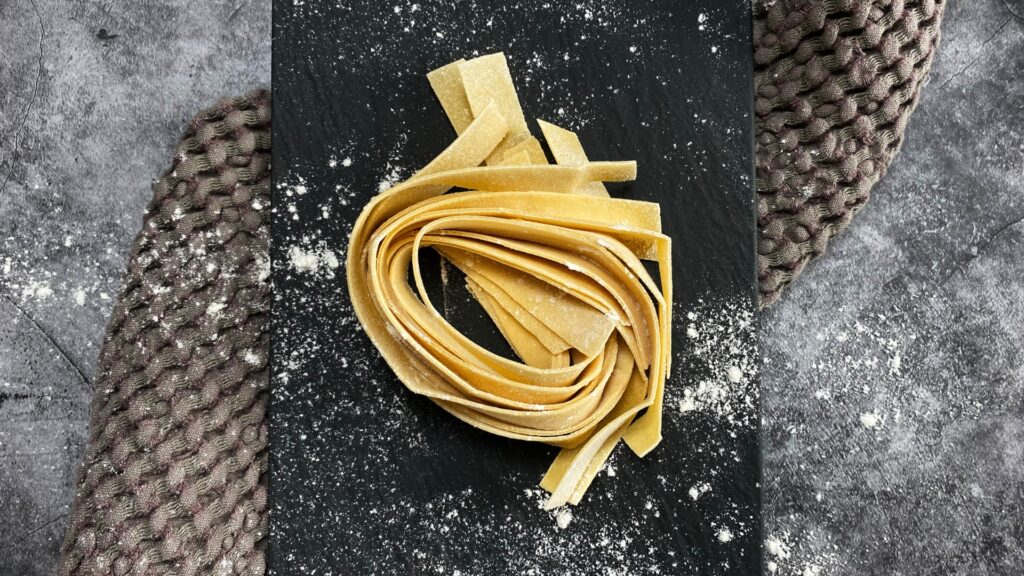
You get lovely ribbon noodles!
Aren’t they pretty?
Now you have several options. You can:
- Cook the homemade pasta
- Freeze the fresh pasta
- Dry the pasta and store it for a long time
Note that fresh pasta cooks much faster than dried. Usually, 2 to 3 minutes is enough.
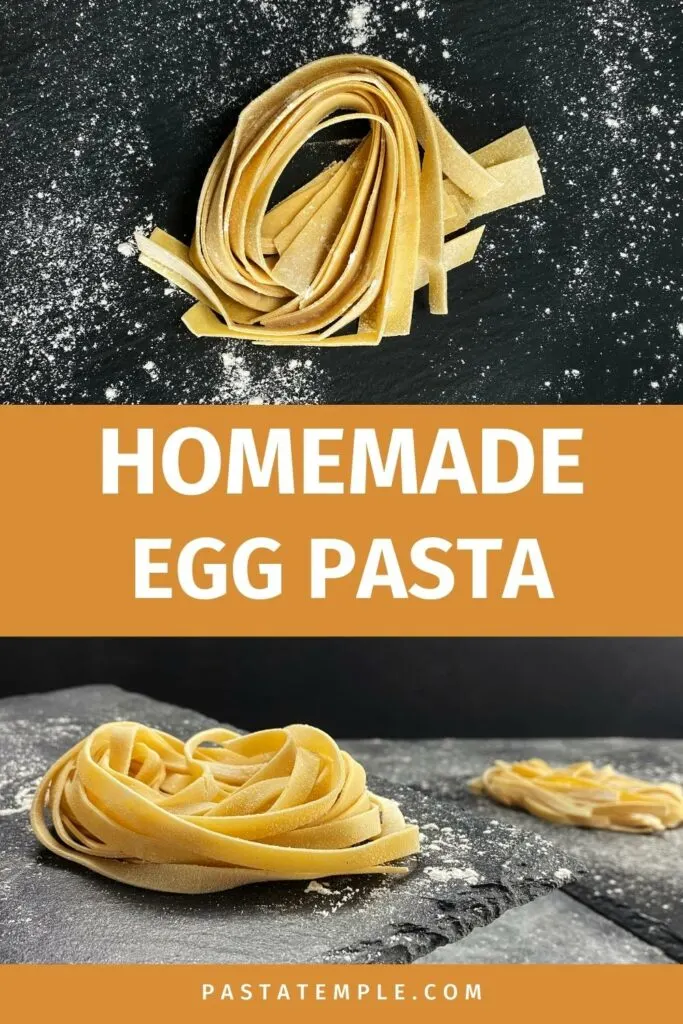
⬇ Pin it for later!
Homemade Egg Pasta (Step by Step)
This article will show you how to make simple homemade egg pasta step by step.
This basic recipe is perfect for tagliatelle and pappardelle, but you can also use it for other types of pasta, such as garganelli, sachetti, and sopresine.
First, I'll show you how to make tagliatelle with egg dough and which traditional recipes go perfectly with it.
Then you'll find instructions for more advanced pasta varieties and tips on cooking, storing, and drying pasta with egg.
Ingredients
- 14 ounces (400 g) of all-purpose flour (or Italian flour Tipo 00)
- 1/2 tsp (4 g) of salt
- 4 eggs (7 ounces or 200 g)
Instructions
- Form a flour well and whisk the eggs to form a dense mass.
- Scrape the flour onto the egg mixture from each side, creating a crumbly dough.
- Press the crumbs together to form a lump of dough.
- Knead the dough into a ball for about 8 minutes.
- Wrap the pasta dough in plastic wrap and let it rest for 30 minutes.
- Roll out the pasta dough to about 1 millimeter.
- Fold the dough disc in on itself three to five times.
- Cut the dough at regular intervals to obtain ribbon pasta.
- Grab the ends of each noodle and shape them into nests.